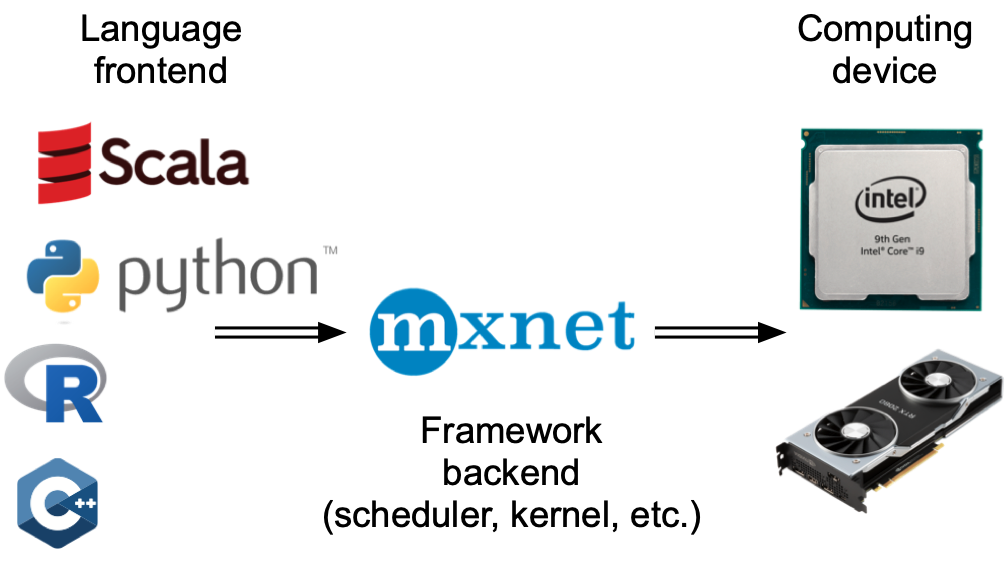
為每個新模型從頭開始實施并行性并不好玩。此外,優化同步工具以獲得高性能有很大的好處。在下文中,我們將展示如何使用深度學習框架的高級 API 來執行此操作。數學和算法與第 13.5 節中的相同。毫不奇怪,您至少需要兩個 GPU 才能運行本節的代碼。
import torch
from torch import nn
from d2l import torch as d2l
from mxnet import autograd, gluon, init, np, npx
from mxnet.gluon import nn
from d2l import mxnet as d2l

npx.set_np()
13.6.1。玩具網絡
讓我們使用一個比13.5 節中的 LeNet 更有意義的網絡 ,它仍然足夠容易和快速訓練。我們選擇了一個 ResNet-18 變體(He et al. , 2016)。由于輸入圖像很小,我們對其進行了輕微修改。特別地,與第 8.6 節的不同之處在于,我們在開始時使用了更小的卷積核、步長和填充。此外,我們刪除了最大池化層。
#@save
def resnet18(num_classes, in_channels=1):
  """A slightly modified ResNet-18 model."""
  def resnet_block(in_channels, out_channels, num_residuals,
           first_block=False):
    blk = []
    for i in range(num_residuals):
      if i == 0 and not first_block:
        blk.append(d2l.Residual(out_channels, use_1x1conv=True,
                    strides=2))
      else:
        blk.append(d2l.Residual(out_channels))
    return nn.Sequential(*blk)

  # This model uses a smaller convolution kernel, stride, and padding and
  # removes the max-pooling layer
  net = nn.Sequential(
    nn.Conv2d(in_channels, 64, kernel_size=3, stride=1, padding=1),
    nn.BatchNorm2d(64),
    nn.ReLU())
  net.add_module("resnet_block1", resnet_block(64, 64, 2, first_block=True))
  net.add_module("resnet_block2", resnet_block(64, 128, 2))
  net.add_module("resnet_block3", resnet_block(128, 256, 2))
  net.add_module("resnet_block4", resnet_block(256, 512, 2))
  net.add_module("global_avg_pool", nn.AdaptiveAvgPool2d((1,1)))
  net.add_module("fc", nn.Sequential(nn.Flatten(),
                    nn.Linear(512, num_classes)))
  return net
#@save
def resnet18(num_classes):
  """A slightly modified ResNet-18 model."""
  def resnet_block(num_channels, num_residuals, first_block=False):
    blk = nn.Sequential()
    for i in range(num_residuals):
      if i == 0 and not first_block:
        blk.add(d2l.Residual(
          num_channels, use_1x1conv=True, strides=2))
      else:
        blk.add(d2l.Residual(num_channels))
    return blk

  net = nn.Sequential()
  # This model uses a smaller convolution kernel, stride, and padding and
  # removes the max-pooling layer
  net.add(nn.Conv2D(64, kernel_size=3, strides=1, padding=1),
      nn.BatchNorm(), nn.Activation('relu'))
  net.add(resnet_block(64, 2, first_block=True),
      resnet_block(128, 2),
      resnet_block(256, 2),
      resnet_block(512, 2))
  net.add(nn.GlobalAvgPool2D(), nn.Dense(num_classes))
  return net
13.6.2。網絡初始化
我們將在訓練循環內初始化網絡。有關初始化方法的復習,請參閱第 5.4 節。
net = resnet18(10)
# Get a list of GPUs
devices = d2l.try_all_gpus()
# We will initialize the network inside the training loop
The initialize function allows us to initialize parameters on a device of our choice. For a refresher on initialization methods see Section 5.4. What is particularly convenient is that it also allows us to initialize the network on multiple devices simultaneously. Let’s try how this works in practice.
net = resnet18(10)
# Get a list of GPUs
devices = d2l.try_all_gpus()
# Initialize all the parameters of the network
net.initialize(init=init.Normal(sigma=0.01), ctx=devices)
Using the split_and_load function introduced in Section 13.5 we can divide a minibatch of data and copy portions to the list of devices provided by the devices variable. The network instance automatically uses the appropriate GPU to compute the value of the forward propagation. Here we generate 4 observations and split them over the GPUs.
x = np.random.uniform(size=(4, 1, 28, 28))
x_shards = gluon.utils.split_and_load(x, devices)
net(x_shards[0]), net(x_shards[1])
[08:00:43] src/operator/nn/./cudnn/./cudnn_algoreg-inl.h:97: Running performance tests to find the best convolution algorithm, this can take a while... (set the environment variable MXNET_CUDNN_AUTOTUNE_DEFAULT to 0 to disable)
(array([[ 2.2610207e-06, 2.2045981e-06, -5.4046786e-06, 1.2869955e-06,
     5.1373163e-06, -3.8297967e-06, 1.4339059e-07, 5.4683451e-06,
     -2.8279192e-06, -3.9651104e-06],
    [ 2.0698672e-06, 2.0084667e-06, -5.6382510e-06, 1.0498458e-06,
     5.5506434e-06, -4.1065491e-06, 6.0830087e-07, 5.4521784e-06,
     -3.7365021e-06, -4.1891640e-06]], ctx=gpu(0)),
 array([[ 2.4629783e-06, 2.6015525e-06, -5.4362617e-06, 1.2938218e-06,
     5.6387889e-06, -4.1360108e-06, 3.5758853e-07, 5.5125256e-06,
     -3.1957325e-06, -4.2976326e-06],
    [ 1.9431673e-06, 2.2600434e-06, -5.2698201e-06, 1.4807417e-06,
     5.4830934e-06, -3.9678889e-06, 7.5751018e-08, 5.6764356e-06,
     -3.2530229e-06, -4.0943951e-06]], ctx=gpu(1)))
Once data passes through the network, the corresponding parameters are initialized on the device the data passed through. This means that initialization happens on a per-device basis. Since we picked GPU 0 and GPU 1 for initialization, the network is initialized only there, and not on the CPU. In fact, the parameters do not even exist on the CPU. We can verify this by printing out the parameters and observing any errors that might arise.
weight = net[0].params.get('weight')

try:
  weight.data()
except RuntimeError:
  print('not initialized on cpu')
weight.data(devices[0])[0], weight.data(devices[1])[0]
not initialized on cpu
(array([[[ 0.01382882, -0.01183044, 0.01417865],
     [-0.00319718, 0.00439528, 0.02562625],
     [-0.00835081, 0.01387452, -0.01035946]]], ctx=gpu(0)),
 array([[[ 0.01382882, -0.01183044, 0.01417865],
     [-0.00319718, 0.00439528, 0.02562625],
     [-0.00835081, 0.01387452, -0.01035946]]], ctx=gpu(1)))
Next, let’s replace the code to evaluate the accuracy by one that works in parallel across multiple devices. This serves as a replacement of the evaluate_accuracy_gpu function from Section 7.6. The main difference is that we split a minibatch before invoking the network. All else is essentially identical.
#@save
def evaluate_accuracy_gpus(net, data_iter, split_f=d2l.split_batch):
  """Compute the accuracy for a model on a dataset using multiple GPUs."""
  # Query the list of devices
  devices = list(net.collect_params().values())[0].list_ctx()
  # No. of correct predictions, no. of predictions
  metric = d2l.Accumulator(2)
  for features, labels in data_iter:
    X_shards, y_shards = split_f(features, labels, devices)
    # Run in parallel
    pred_shards = [net(X_shard) for X_shard in X_shards]
    metric.add(sum(float(d2l.accuracy(pred_shard, y_shard)) for
            pred_shard, y_shard in zip(
              pred_shards, y_shards)), labels.size)
  return metric[0] / metric[1]
13.6.3。訓練
和以前一樣,訓練代碼需要執行幾個基本功能以實現高效并行:
需要在所有設備上初始化網絡參數。
在迭代數據集時,小批量將被劃分到所有設備上。
我們跨設備并行計算損失及其梯度。
最后,我們計算精度(再次并行)以報告網絡的最終性能。訓練例程與前面章節中的實現非常相似,只是我們需要拆分和聚合數據。
def train(net, num_gpus, batch_size, lr):
  train_iter, test_iter = d2l.load_data_fashion_mnist(batch_size)
  devices = [d2l.try_gpu(i) for i in range(num_gpus)]
  def init_weights(module):
    if type(module) in [nn.Linear, nn.Conv2d]:
      nn.init.normal_(module.weight, std=0.01)
  net.apply(init_weights)
  # Set the model on multiple GPUs
  net = nn.DataParallel(net, device_ids=devices)
  trainer = torch.optim.SGD(net.parameters(), lr)
  loss = nn.CrossEntropyLoss()
  timer, num_epochs = d2l.Timer(), 10
  animator = d2l.Animator('epoch', 'test acc', xlim=[1, num_epochs])
  for epoch in range(num_epochs):
    net.train()
    timer.start()
    for X, y in train_iter:
      trainer.zero_grad()
      X, y = X.to(devices[0]), y.to(devices[0])
      l = loss(net(X), y)
      l.backward()
      trainer.step()
    timer.stop()
    animator.add(epoch + 1, (d2l.evaluate_accuracy_gpu(net, test_iter),))
  print(f'test acc: {animator.Y[0][-1]:.2f}, {timer.avg():.1f} sec/epoch '
     f'on {str(devices)}')
def train(num_gpus, batch_size, lr):
  train_iter, test_iter = d2l.load_data_fashion_mnist(batch_size)
  ctx = [d2l.try_gpu(i) for i in range(num_gpus)]
  net.initialize(init=init.Normal(sigma=0.01), ctx=ctx, force_reinit=True)
  trainer = gluon.Trainer(net.collect_params(), 'sgd',
              {'learning_rate': lr})
  loss = gluon.loss.SoftmaxCrossEntropyLoss()
  timer, num_epochs = d2l.Timer(), 10
  animator = d2l.Animator('epoch', 'test acc', xlim=[1, num_epochs])
  for epoch in range(num_epochs):
    timer.start()
    for features, labels in train_iter:
      X_shards, y_shards = d2l.split_batch(features, labels, ctx)
      with autograd.record():
        ls = [loss(net(X_shard), y_shard) for X_shard, y_shard
           in zip(X_shards, y_shards)]
      for l in ls:
        l.backward()
      trainer.step(batch_size)
    npx.waitall()
    timer.stop()
    animator.add(epoch + 1, (evaluate_accuracy_gpus(net, test_iter),))
  print(f'test acc: {animator.Y[0][-1]:.2f}, {timer.avg():.1f} sec/epoch '
     f'on {str(ctx)}')
讓我們看看這在實踐中是如何工作的。作為熱身,我們在單個 GPU 上訓練網絡。
train(net, num_gpus=1, batch_size=256, lr=0.1)
test acc: 0.90, 14.0 sec/epoch on [device(type='cuda', index=0)]
train(num_gpus=1, batch_size=256, lr=0.1)
test acc: 0.93, 14.3 sec/epoch on [gpu(0)]
接下來我們使用 2 個 GPU 進行訓練。與 13.5 節中評估的 LeNet 相比,ResNet-18 的模型要復雜得多。這就是并行化顯示其優勢的地方。計算時間明顯大于同步參數的時間。這提高了可伸縮性,因為并行化的開銷不太相關。
train(net, num_gpus=2, batch_size=512, lr=0.2)
test acc: 0.89, 8.8 sec/epoch on [device(type='cuda', index=0), device(type='cuda', index=1)]
train(num_gpus=2, batch_size=512, lr=0.2)
test acc: 0.91, 14.2 sec/epoch on [gpu(0), gpu(1)]
13.6.4。概括
Gluon 通過提供上下文列表為跨多個設備的模型初始化提供原語。
在可以找到數據的設備上自動評估數據。
在嘗試訪問該設備上的參數之前,請注意初始化每個設備上的網絡。否則你會遇到錯誤。
優化算法自動聚合多個 GPU。
13.6.5。練習
-
gpu
+關注
關注
28文章
4768瀏覽量
129238 -
pytorch
+關注
關注
2文章
808瀏覽量
13335
發布評論請先 登錄
相關推薦
新手小白怎么學GPU云服務器跑深度學習?
如何往星光2板子里裝pytorch?
pytorch模型轉換需要注意的事項有哪些?
Pytorch 1.1.0,來了!

基于PyTorch的深度學習入門教程之DataParallel使用多GPU
PyTorch在哪些地方分配GPU內存
PyTorch教程-13.2. 異步計算


 PyTorch教程-13.6. 多個 GPU 的簡潔實現


評論