使用NOKIA3310液晶屏及DS18B20制作的數(shù)字溫度計(jì),Digital thermometer
關(guān)鍵字:數(shù)字溫度計(jì),DS18B20,NOKIA3310,PIC12F629
Use parts of an old or broken mobile phone? Why not!
One useable part of a mobile phone is its LCD, which can be used in many applicationswhere we need data visually presented.
Nokia 3310 has a LCD with 84*84 dots, that isn't that hard to get and can be very useful in DIY (do it yourself) electronics.
This page describes a device I designed to test such a display and turned out to be the circuit that I am proud to share with you. Since my motto is 搒implicity in construction? with a few parts you will be able to create a relatively accurate and visually appealing thermometer.
Technical characteristics :
- Voltage ....................... 3 - 3.3 V
- Range (1) ....................-55 do 125' C
- Min. temp. step ............ 0,1 ' C
- Max. error ................... +/- 0,5 ' C
- Max. resolution ............. 0,0625 ' C
- Temp. refreshed every.... 1,2 sec.
- Dimensions ................... 40 * 38 mm
- 2 modes of display .........normal/inverse
- Llcd ............................. 84*48pixela
- Amperage (2)................. 0,2 mA - 0,8 mA
-
Range of -55 to 125癈 is possible if ONLY the sensor is in that area not the whole device!
-
Amperage of the device varies because of the conversion of DS18B20 (measuring the temperature and reading the measured temperature), that lasts about 700ms and at that time the device uses 0.8mA, for the next 500ms the device is in 搒leep?mode and uses 0.2mA.
Lcd
First we need to extract/salvage the LCD from the Nokia 3310 mobile phone. Be extremely careful and patient during this process, because as you know the display is just a thin piece of glass that is very sensitive.
There is an 8 pin connector on the back of the display, in our case it's glued to the glass (Nokia 3210 has 搑ubber?connectors so this one is much easier to use). This is a Phillips PCD8544 display, it can be easily found on the net if you want more information about it.
PCB
The second step is making the board which is small and isn't that difficult to make. Pay close attention while gluing the plastic edges on the board because they will be holding your LCD. Double check connector positions before gluing. In the bottom corners I glued two plastic separators so the LCD leans on them and not the solder points.
Layout of elements
On the back side we can see the layout of elements, they aren't hard to find and there aren't that many of them.
I placed the temperature sensor DS18B20 in a socket for testing purposes, it is also possible to connect the sensor at a distance by adding wire (I haven't tested 1 wire sensors at a distance yet).
If by any chance the contrast isn't to your liking, it can be changed during the programming of Pic12F629, in the program location D2h. the current value A9h is the one I use with my LCD and don't know it will be for other LCDs. The value can be set to anything between 80h and FFh, 80h being minimum contrast and FFh maximum.
Since I have noticed that there is a problem with programming these microcontrollers you should read the short how-to for programming PIC12F629/675 microcontrollers.
This device was just a test and I hope to have many more circuits that utilize this LCD soon because I'm very fond of its easy implementation.
If you have any difficulty in making this device, feel free to mail me.
附件是相關(guān)的程序和電路,如果感興趣可以下載試做哦
2007615193243.rar
發(fā)布評(píng)論請(qǐng)先 登錄
相關(guān)推薦
基于FPGA的DS18B20數(shù)字溫度傳感器測(cè)溫實(shí)例
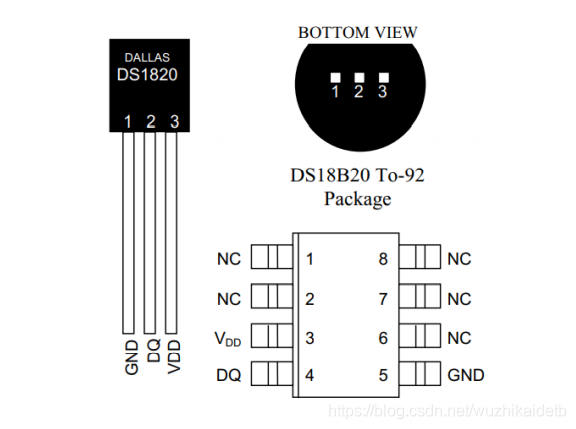
DS18B20實(shí)時(shí)溫度傳感器中文資料
基于FPGA的溫度傳感器(ds18b20)驅(qū)動(dòng)設(shè)計(jì)
【正點(diǎn)原子STM32H7R3開(kāi)發(fā)套件試用體驗(yàn)】DS18B20、DHT11溫濕度采集
CW32模塊使用 DS18B20溫度傳感器
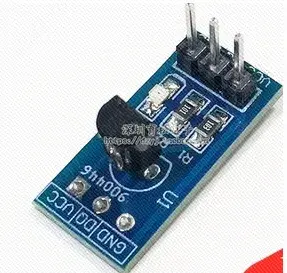
DS18B20溫度傳感器的工作原理和硬件設(shè)計(jì)
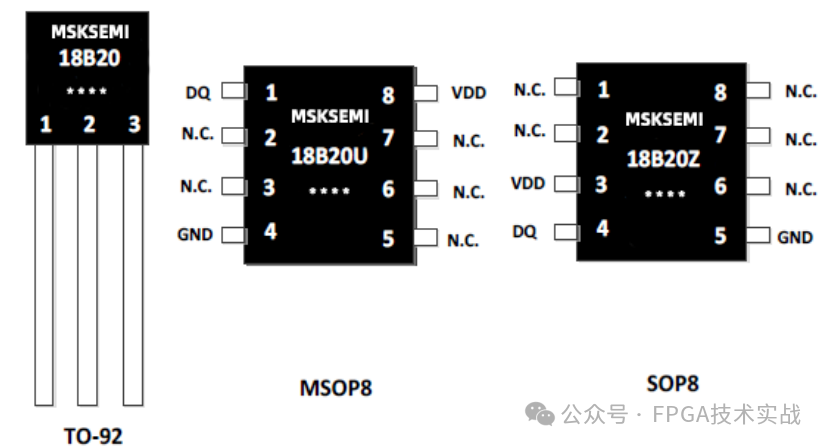
ds18b20傳感器的使用方法
ds18b20溫度傳感器怎么接線
ds18b20溫度傳感器如何使用
ds18b20溫度傳感器是什么類型
ds18b20溫度傳感器和dht11的區(qū)別
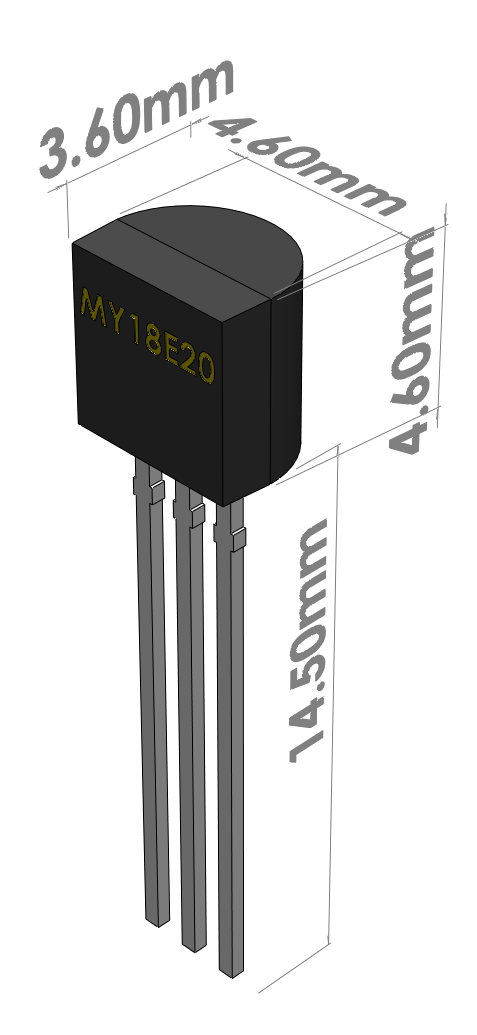
MY18E20、MY1820 與 DS18B20 性能對(duì)比表
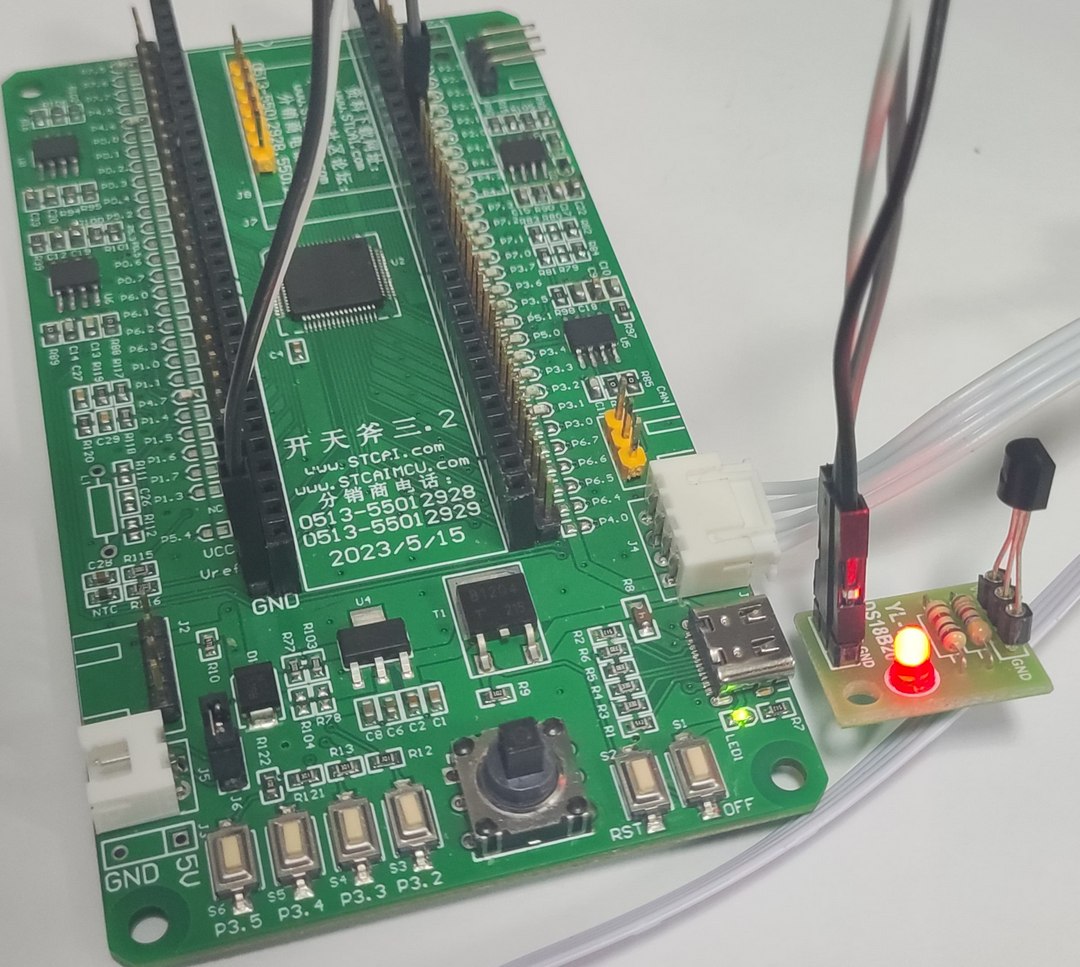
STC32和STC8H驅(qū)動(dòng)DS18B20測(cè)溫串口發(fā)送數(shù)據(jù)


評(píng)論